
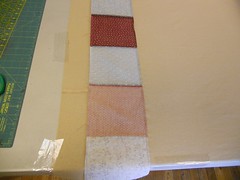
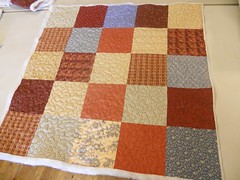
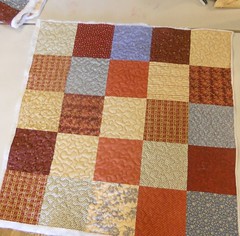
1. Pin your 6.5" squares together in rows of 5.
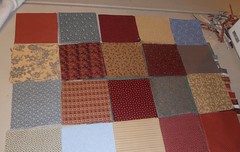
2. Press seams to one side.
3. Stitch each sewn strip to another sewn strip.
4. You will be joining 5 rows to make one "block."
5. Press these seams OPEN.
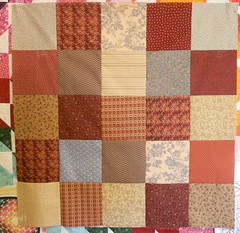
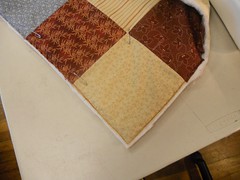
6. When you are finished, you should have 9 "blocks" ~~~ each block will include 25 charm squares, 5 rows, and 5 squares in each row.
7. Give each BLOCK a final pressing with STARCH.
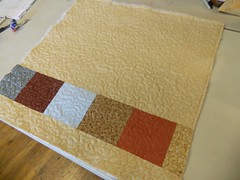
Part B ~ Assembling the Back
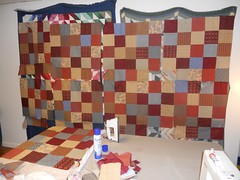
You need 9 blocks equaling at least 33" square.
Cut these blocks out of yardage, or piece leftover fabric together to equal 33"
Press seams to the side. Press the RIGHT side of your backing squares, and use starch.
Here is two of my pieced backings I'm using for this quilt:
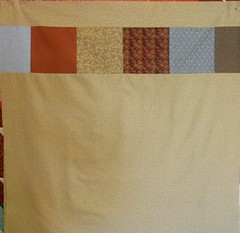
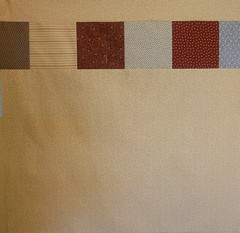
Do these however you want! ;c)
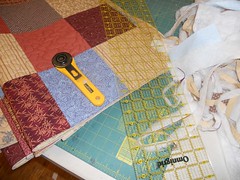
Part C ~ Batting
Cut batting squares to equal approximately 31" square
Batting can be pieced from leftovers, just please always use the same loft and preferably the same BRAND of batting throughout your quilt. You don't want different weights of batting in one quilt ;c)
To piece batting, use a needle and thread. Fold one long piece of thread in half, and stick two raw ends through the eye of the needle. Stick the needle through a 1/8" of one side of the batting, and pull thread ALMOST through. There will be a small loop, so just put your needle through the loop for a clean knot to start your sewing.
Start with batting butted together. Take your needle through a bit of the batting on the opposite side from where you started. You can make very large, relatively loose stitches. Once you quilt the quilt, the batting will stay put. You just need to stitch a few stitches to hold the batting together.
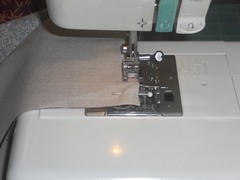
If you have a lot of batting that you want to piece, you CAN use a large, wide zig-zag stitch on your machine. Just make sure you're using a thin thread, and the batting isn't overlapping.
Part D ~ Quilting
1. Lay down one of the backing pieces, wrong side facing UP.
2. Tape down edges/corners to your table/work surface. You want to keep the backing piece taut, but not stretched too much.
3. Next lay down your batting piece in the center and smooth out any bumps or ridges.
4. Next Lay down one of your top pieces (30.5") on top of your batting piece, RIGHT side facing up
5. Starting in the center of your piece, begin to pin with large, safety pins.
6. Pin toward the sides, and then out to the corners. As you are pinning, gently stretch the top to where it is TAUT, but not stretched. You want the top to be the same tautness as the backing.

7. Once the sandwich is pinned, go to your machine, and stitch 1/4" from the edges.
~~you may have to remove pins as you sew ;c)
8. Quilt as desired - this method is PERFECT for free-motion practice! ;c)
9. Trim off any excess batting and backing. There should only be 1/4" or less past the stitching line.
No comments:
Post a Comment